Creating your first commit
We have created our first repository on GitHub. It resides on cloud/server of GitHub.
But mostly as a developer we carry out our code development on our local PC.
So we need one interface with GitHub so that we can get/send code from/to GitHub using commands.
Installing Git command line client
I am using Virtual Machine that runs Ubuntu so I will be installing Git clied o Ubuntu terminal using following command
sudo apt-get install git
Once installed successfully configure your git with your Git account details (email, Git username).
git config --global user.email "you@example.com"
git config --global user.name "Your Name"
After this you are ready to use GitHub from your local PC.
Getting existing repository to your local machine
Since we have created our repository on GitHub Server we will fetch the repository contents to our local PC using following command.
git clone <Your Repository Link>
e.g.
git clone https://github.com/embeltech/test.git
You can find your repo link as follows:
Go to link https://github.com/Username/YourRepoName
e.g. https://github.com/embeltech/test
Click on code button and copy HTTPS link (your repo link).

Once git clone is complete you can navigate to the downloaded folder of repository and check its contents.

You have successfully created local copy of your repository
Add new code to the repository
Once local copy of repository is available on your local machine we can now create one hello world cpp program or you can create any document or even copy any existing file to the repository folder.
After we have new document added to our repository git detects new items as untracked/unstaged items (More on this in next article).
Check status of your changes:
git status

Staging
Git is a version controlling system (VCS) so we want git to to maintain versions of the file that we added. In order to make git to track the code changes we need to add the file to staging area (More on this in next article). Use following command to add file to staging:
git add fileName
e.g. git add hello.cpp

Check the status using git status
New file is now staged for next step (commit)Committing
After staging(making git aware of our changes so that they will be tracked) now we need to make git register the changes in its version database. So we commit the changes.
git commit -m "Your commit message here"
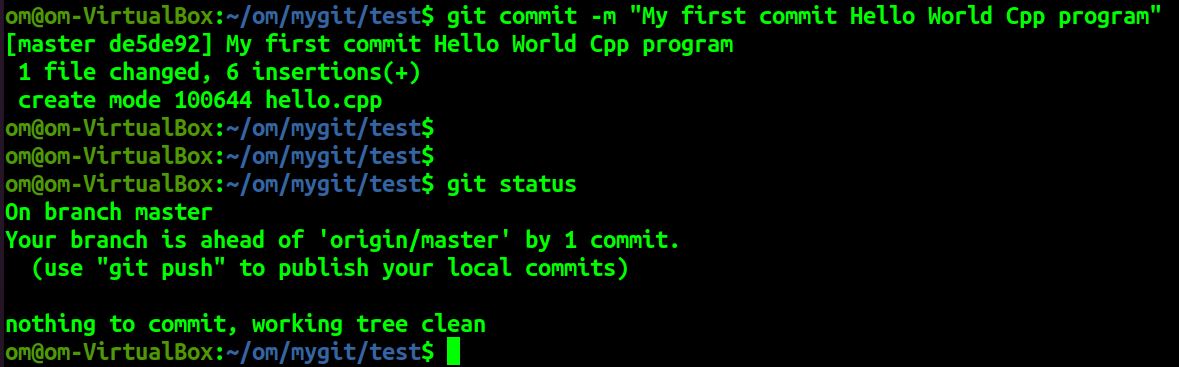
Check the status using git status
New file is now committed into version database
Pushing
All the process that we have done is on local copy of the repository. Even version history captured in its database is also local and present in your machine only.
In order to send the changes to GitHub server repository we need to push the changes to server.
git push

Check the status using git status.
You have successfully created first commit to your GitHub (SERVER) repository.
Have a look from GitHub website.

Your commit has been identified with a unique SHA (Secure Hash Key)
Congratulations on your First Commit !!!


